Dynamic calibration
Each of our automatic tablet testing systems includes standard accessories for calibration with weights and gauge blocks. The load cells in our tablet hardness testers have demonstrable, outstanding consistency and linearity.
How to proof linearity?
Weights of up to 40 kg would have to be used to ensure comprehensive calibration. This is impractical and risky. We recommend dynamic calibration for a comprehensive calibration process.
The dynamic calibration device proofs the perfect linearity through out the whole measurement range and generates a printed calibration report.
Dynamic calibration set
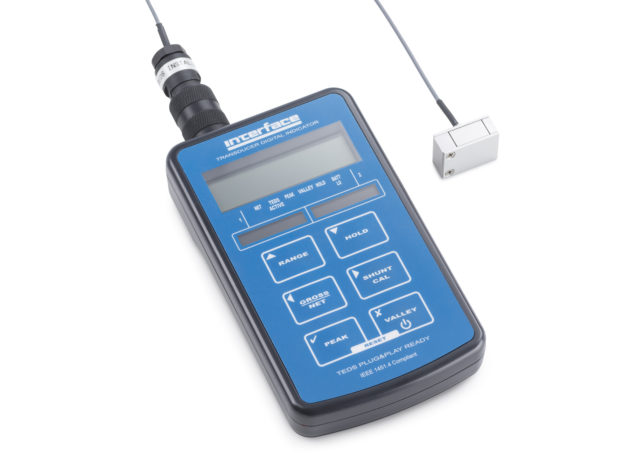
The ‘Dynamic calibration package’ comprises:
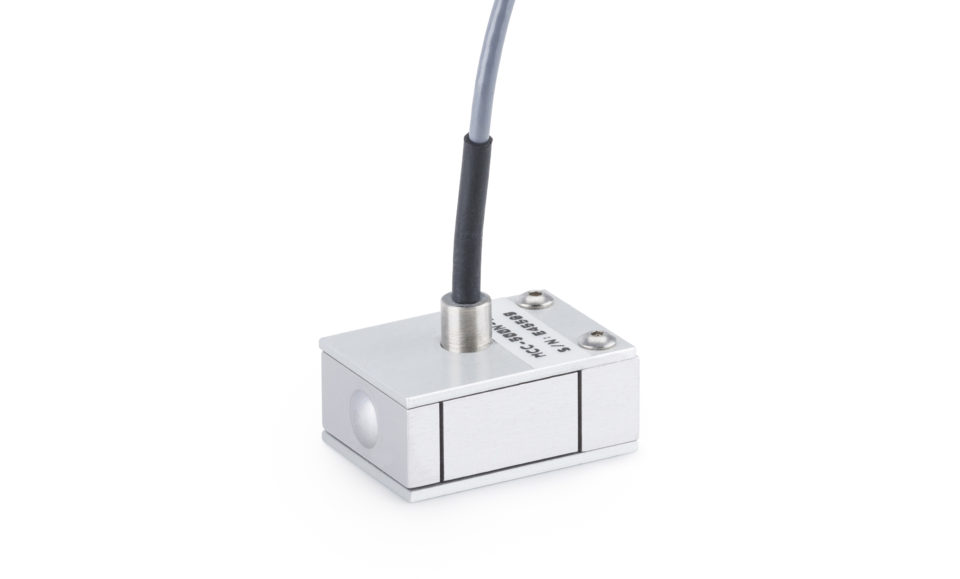
- Certified external load cell (sensor)
- Software package for the testing device
- Display device

Safe hardness calibration procedure
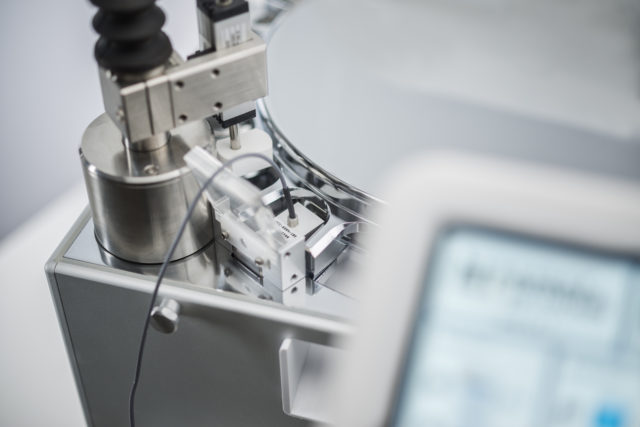
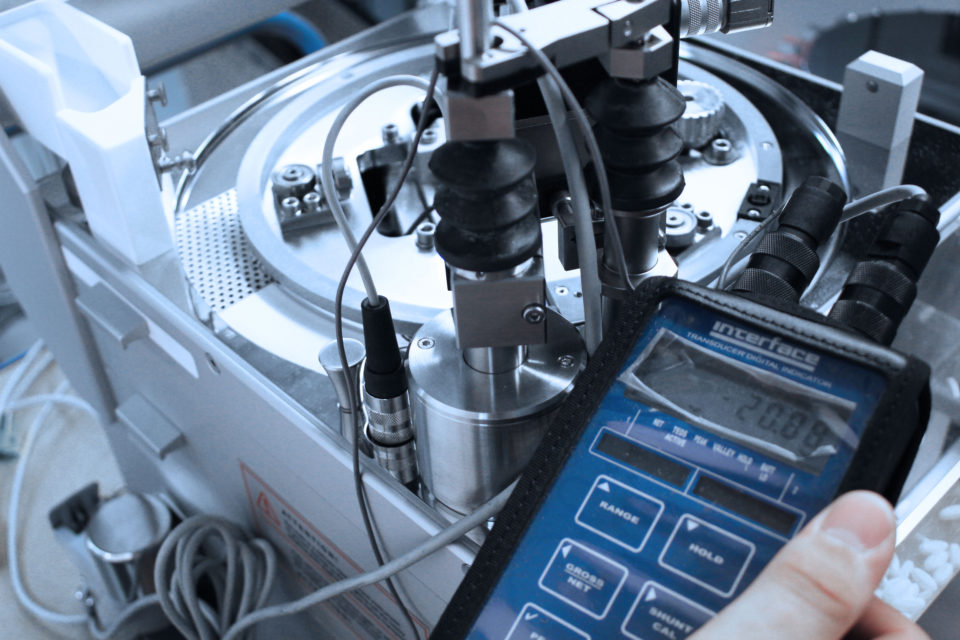
During the dynamic calibration process, the hardness measuring station approaches the predefined number of measuring points dynamically. The software records the measurement results of the testing device and compares them with the reference load cell. At the end, a calibration report can be printed out.
No calibration weights
No mechanical intervention
For the calibration, the load cell (sensor) is inserted into the hardness test station.


